- This event has passed.
Nuc Colony Pick-up

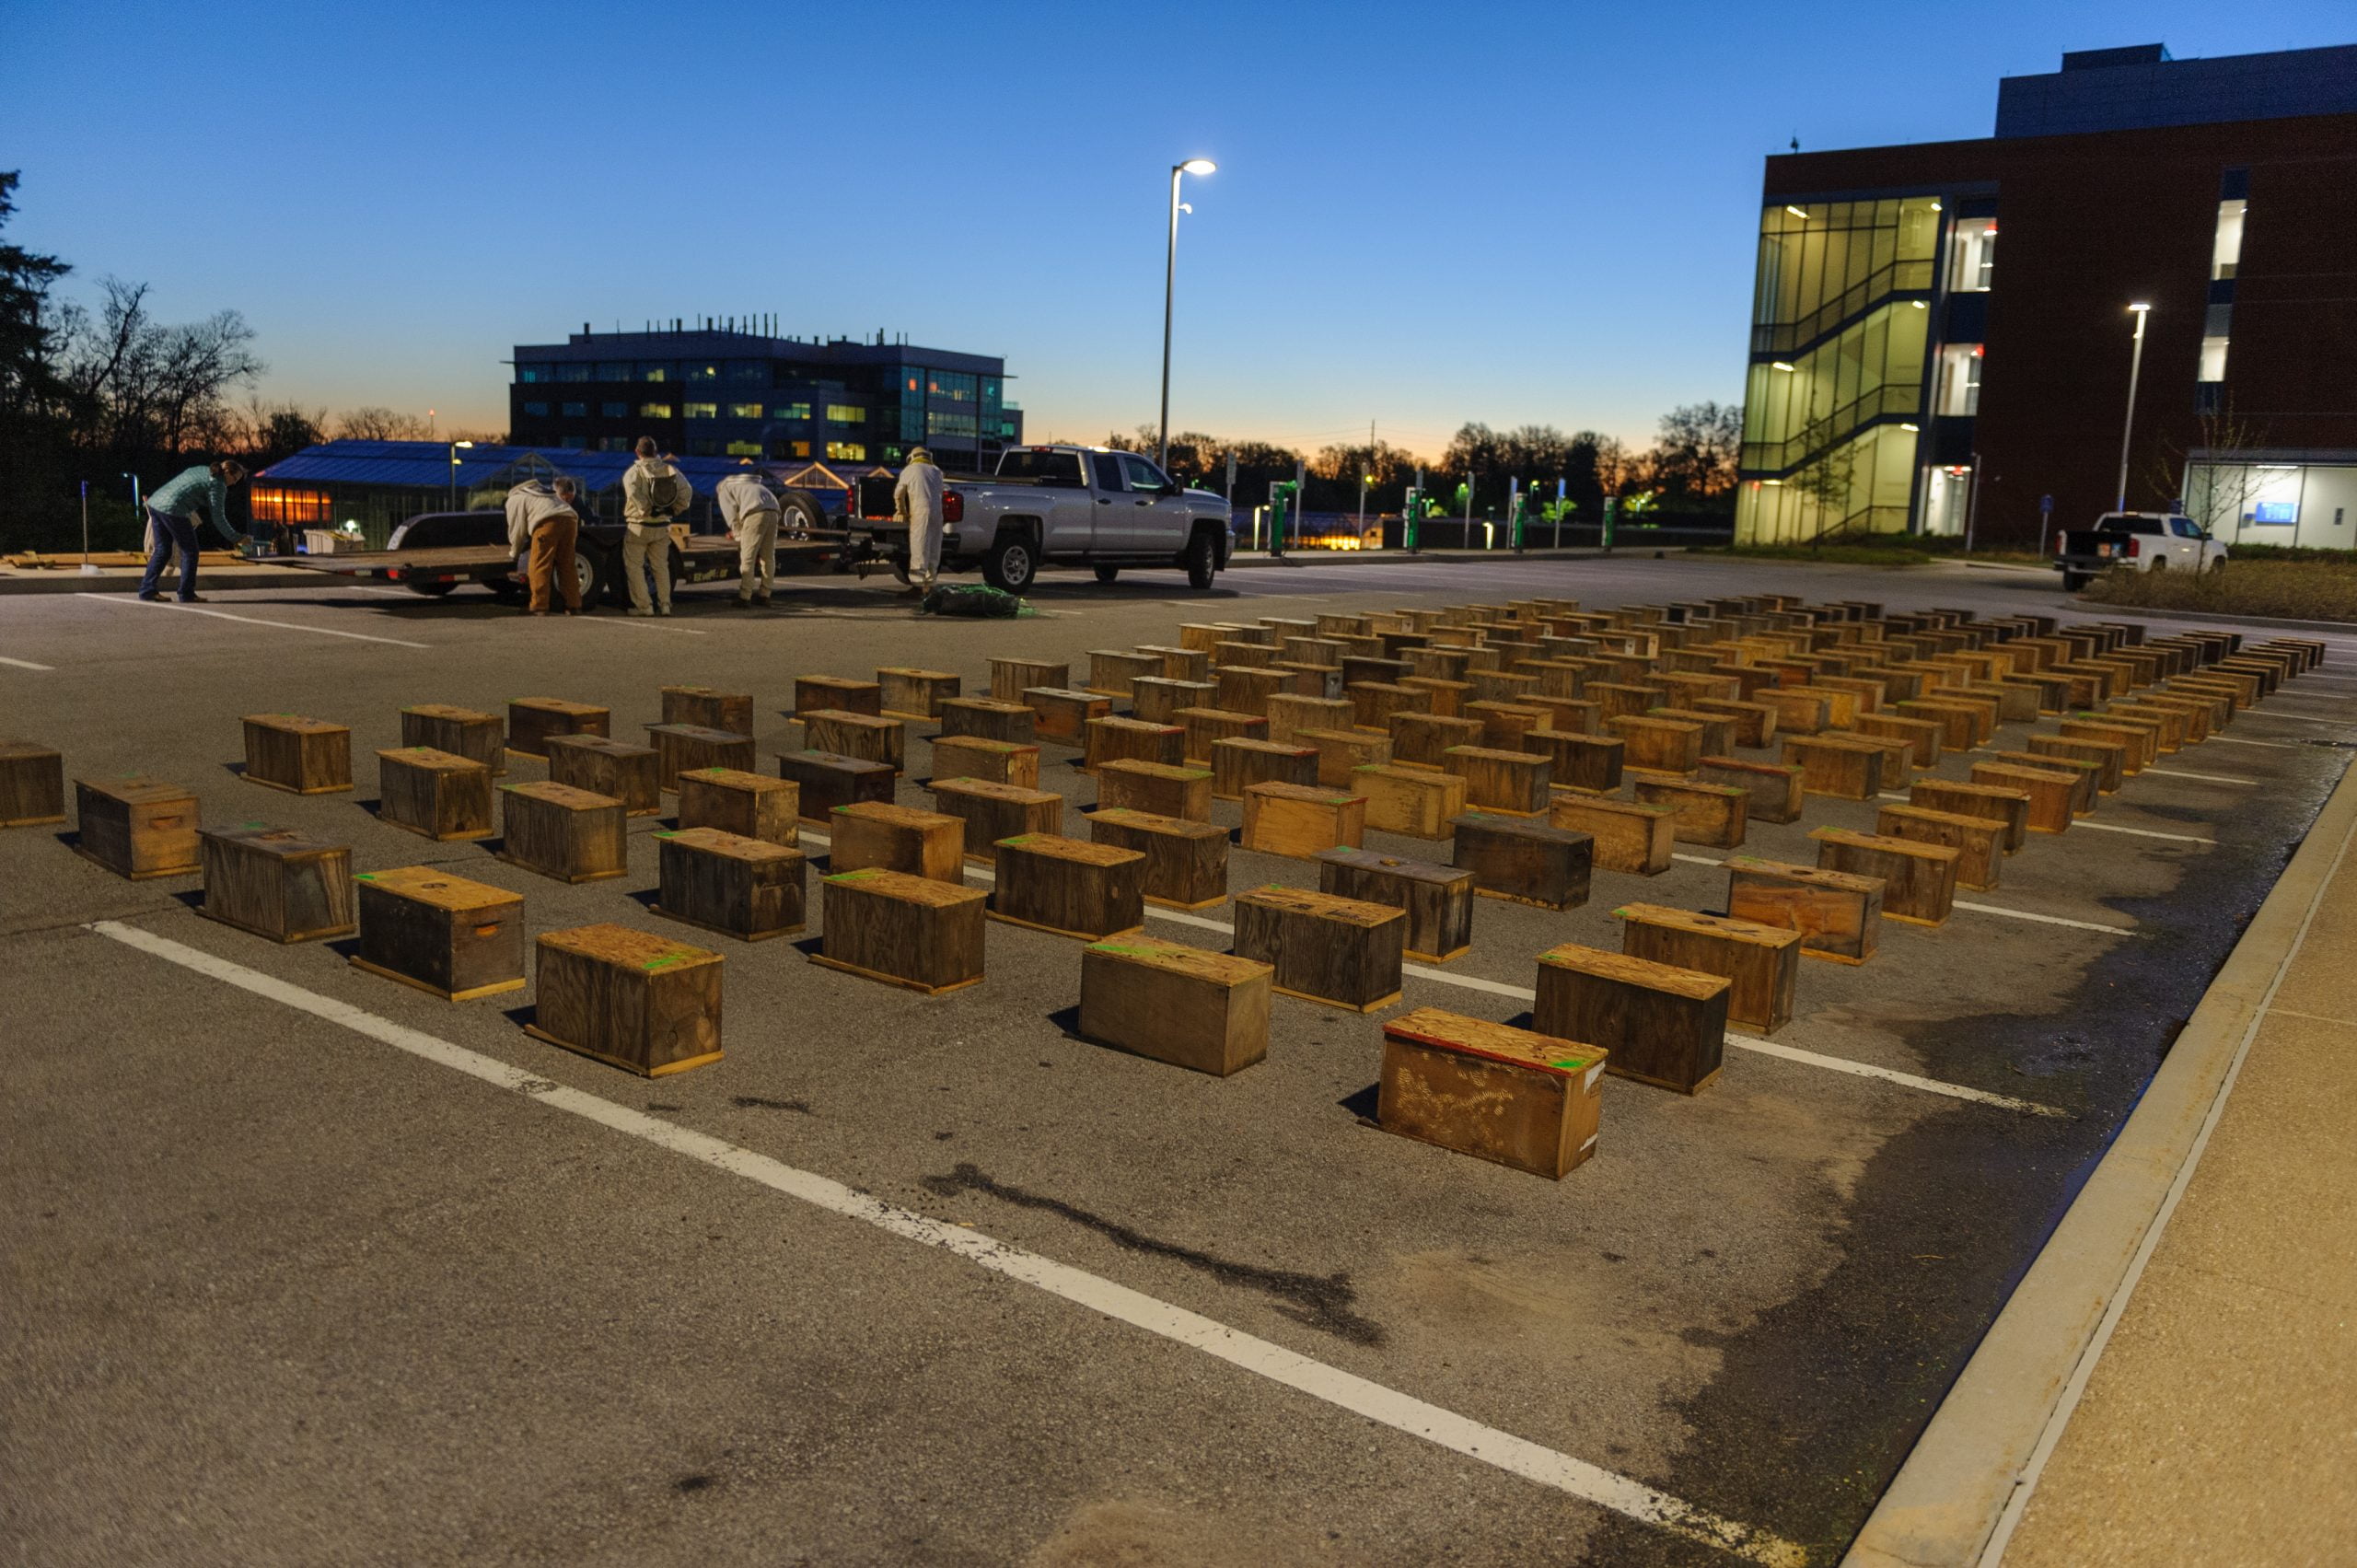
Nucs pick up will be between 6:30am and 8:00 a.m on Saturday, April 24, 2021 on the west parking lot of the Danforth Plant Science Center complex, at the corner of Olive & Warson Rd. Enter from the Olive Blvd. entrance and follow the lane left to the west parking lot. 975 N Warson Rd, St. Louis, MO 63132
The instructions below will help you prepare for and install your nuc.
The earlier you arrive to pick up the nuc, the better.
Please review these instructions before taking delivery of your nuc.
Weather and Rain Date: The pick-up will occur “rain or shine.” There is no rain date.
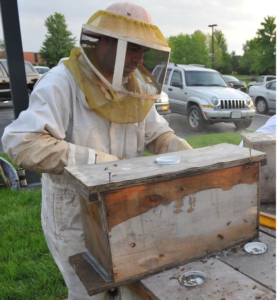
Protective Clothing: Bees will be flying at the pick-up point. Please wear protective clothing or a veil. Shorts and sandals are not recommended.
How to Carry the Nuc: The nuc should be picked up and held under the bottom board. Do not pick up the nuc by the outer cover. There are no handholds on the cover. The nuc box may come apart if you pick it up by the top.
Unclaimed Nucs: Nucs unclaimed at 8:00 a.m. may be deemed forfeited. Please notify us immediately if you will be unable to pick up your nuc at 314-669-1828.
FEEDERS! EMBA will be selling bucket feeders and division board feeders $8.00 each at the nuc pickup. Remember nucs need constant feeding until they have all the comb drawn out.
Transporting Your Nuc:
Your goal is to provide maximum ventilation during transport, deliver the nuc to its stand location as soon as possible, and remove the front screen, allowing the bees to fly. (Also see, “How to Transport and Install a Nuc by Tony Jadczak, Maine State Apiarist”) club handout.
– The nuc is highly perishable. Cool air and ventilation are required to avoid suffocation or over heating while being transported.
– Transport your nuc in an uncovered truck bed or on the floor of your car or van, with the windows open. The open bed of a pick-up truck is ideal for transporting a nuc.
– Do not place the nuc in the trunk of a car or in an enclosed truck shell.
– Do not leave the nuc in a parked vehicle.
– Transport the nuc to its destination immediately after loading, without interruption for stops.
– If you transport the nuc in your car, you may drape a sheet loosely over the nuc in order to prevent “hangers-on” from flying before you take the nuc out of the car.
Bees that are loose in a vehicle will fly to the windows. When the bees are on the window, open it and they will fly out. If you are concerned about bees flying in your car, have a veil available so that you do not endanger yourself or others while driving.
What to do When you Arrive at Your Hive Location
The most important things to accomplish upon arrival are moving the nuc to the exact location where it is to be hived and removing the front entrance screen so the bees can fly.
A screen is in the nuc entrance to prevent the bees from flying while you are taking it to its location. The bees may suffocate, overheat, and die if the screen remains in place too long during daytime temperatures. Nucs that are not in transit should be opened as soon as possible, before 9:00 a.m.
Assemble and place your hive stand and woodenware before the pick-up day.
If your schedule permits, allow the nuc to remain in the nuc box for a couple of days of good flying weather before installing it in the permanent hive. This allows the colony to acclimate and calm, providing an easier installation. Even a few hours of flying before you install the bees in your equipment will help the bees orient to their new location. (You may feed with a jar feeder on the top cover of the nuc box, until you install the nuc in your 10-frame equipment.)
Install the nuc in a hive body according to the written instructions you will receive. You will need a Phillips-head screwdriver to remove the outer cover of the nuc box. Wear protective clothing. Have your smoker, syrup, and feeder available and ready.
Inspect the colony every 7-10 days, and contact your mentor if you are uncertain.
Preparing Sugar Syrup to Build Comb
You will need to prepare and feed your bees sugar syrup continuously for several weeks. Use rich syrup to promote comb building, such as a ratio of 1.5 sugar to 1.0 water, by weight or volume. (A thin,1:1 ratio is also acceptable.)
The suggested ratio for making syrup for bees on foundation is:
If you have a bucket larger than 2 gallons: Use 12 lbs. (1-1/2 gallon) of granulated cane sugar to 8 lbs (1 gallon) of hot tap water (adding the sugar to the water). Mix well. (A paint mixer on a drill is the most convenient mixer.)
This will yield a little over 2 gallons of syrup. (Note that sugar and water weigh the same, so that you can mix the ratios by weight or volume.)
Hive Stand
If you have not made a hive stand, do so now! There are a variety of approaches in the literature we have distributed.
One approach we find works well is to place the hive on a treated wood frame set on concrete pavers, bricks, or blocks. Using this approach, place four concrete pavers – 8″x 8″x 4″ – on the ground, to go beneath the corners of a rectangular, treated wood, stand. Place and level the hive stand on the pavers (you can shim up the hives at the rear, but it is good for the stand to be level).
To make this hive stand: Buy a 10′ board of treated, 2″x 6″ lumber. Cut the 10′ board into 2 – 45″ pieces, and 2 – 15″ pieces. Make a rectangle, placing the 15″ pieces inside of the 45″ pieces, so that the stand is 18″ wide and 45″ long. Join at the corners with three 3″ wood screws or 16d nails. Place the stand on the pavers. This stand works very well for either one or two hives. The height is workable (reduces back strain and elevates entrance above grass and weeds) and promotes ventilation, which helps extend the life of the bottom board. You may use more pavers, or other types of masonry blocks, in order to elevate the bottom board to a height of 15″ above grade, which reduces lower back strain significantly. More hive stand info on the club website click here.
Questions
Send questions after installation to info@easternmobeekeepers.com
